Easy Focus Stack in Linux

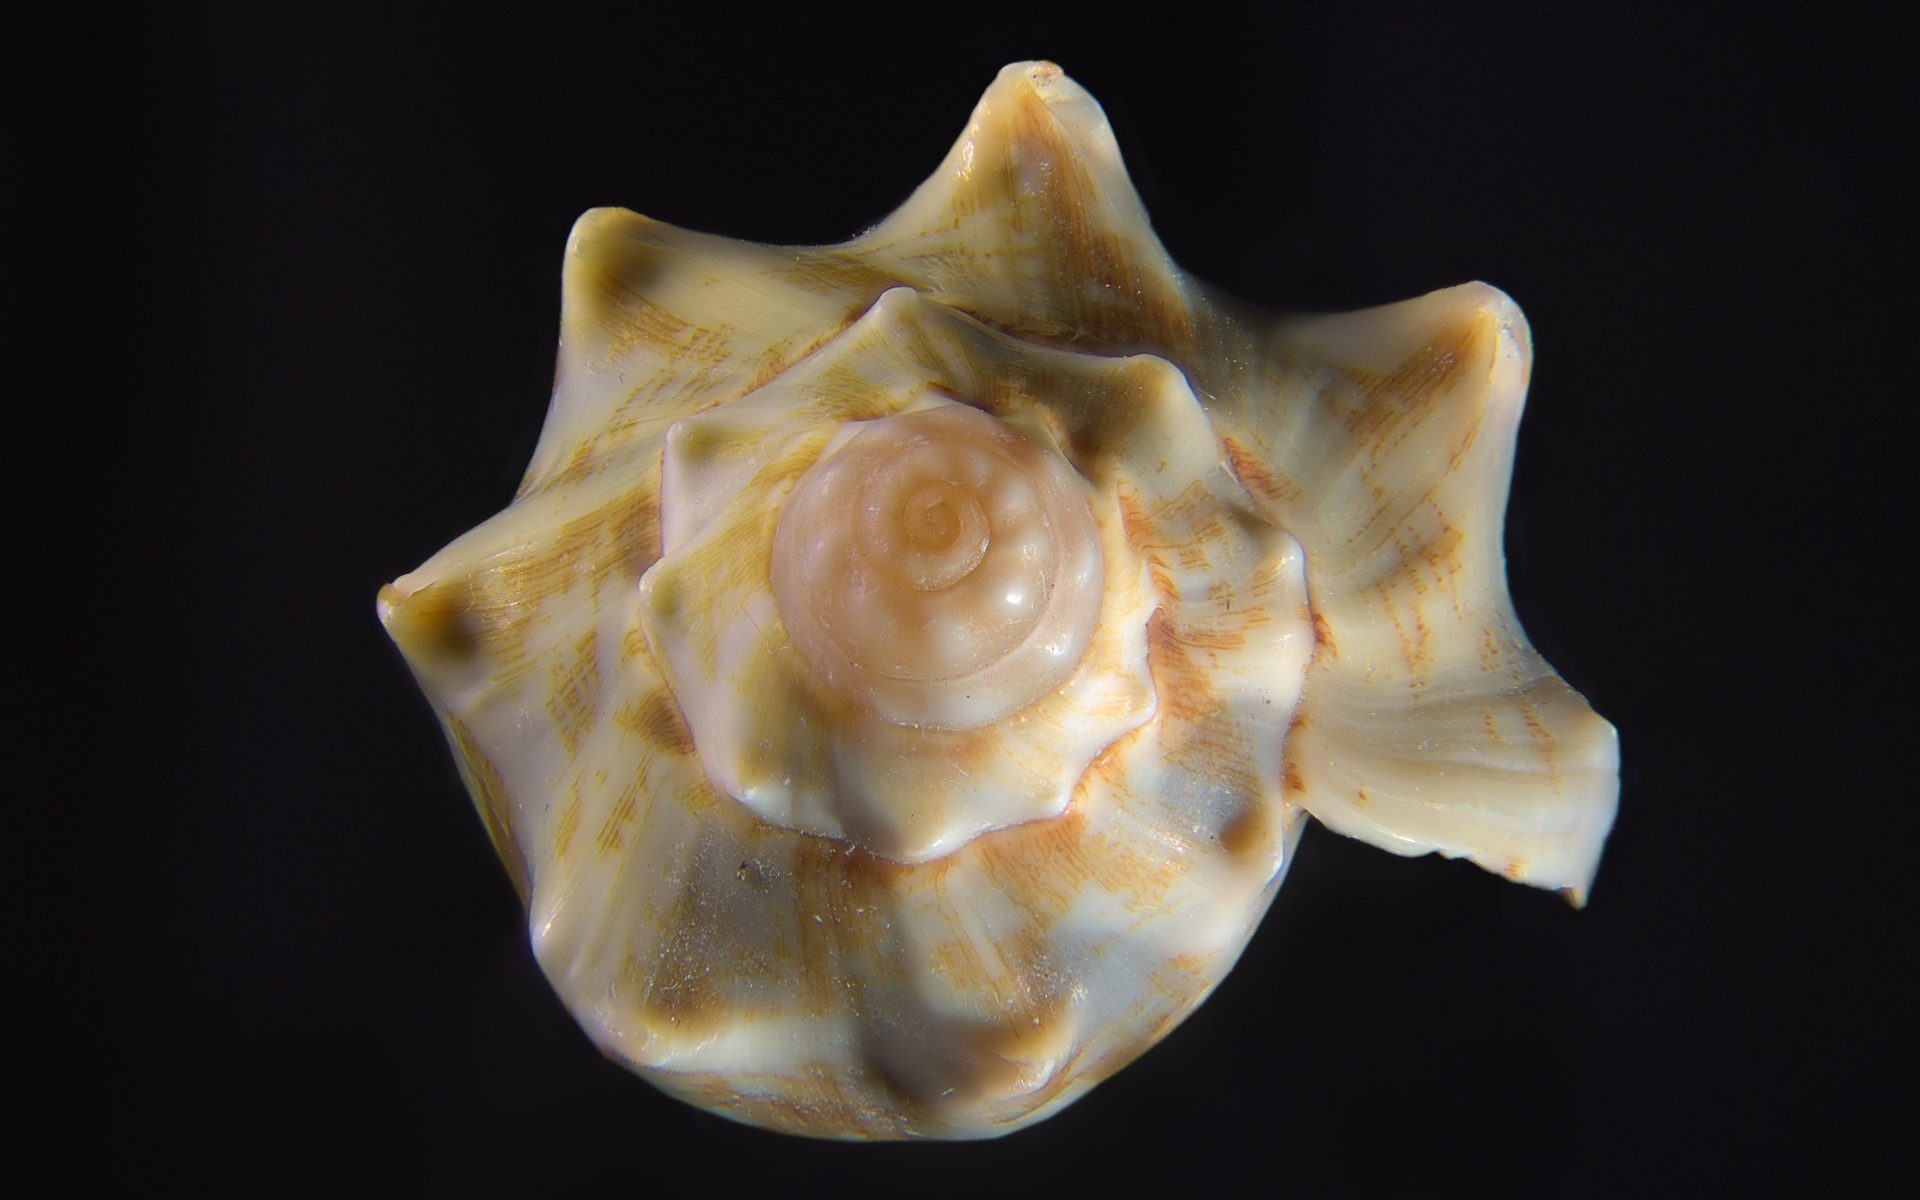
focus stacked shell, final result

Do you what to know how to align, and blend, a Focus Stack sequence in linux?
I’m going to show you an easy way to focus stack in Linux using a few simple commands in Terminal.
This method only works if you have Enfuse installed but if you have Hugin – Panorama photo stitcher installed it’s already there. If you don’t have Hugin, pop over and get it, it’s free.

Opening Images in Terminal

Create a folder for your images.

Right Click in the folder, and click on Open in Terminal.

The Align Script

Run the following command and press enter

align_image_stack -m -a OUT $(ls)
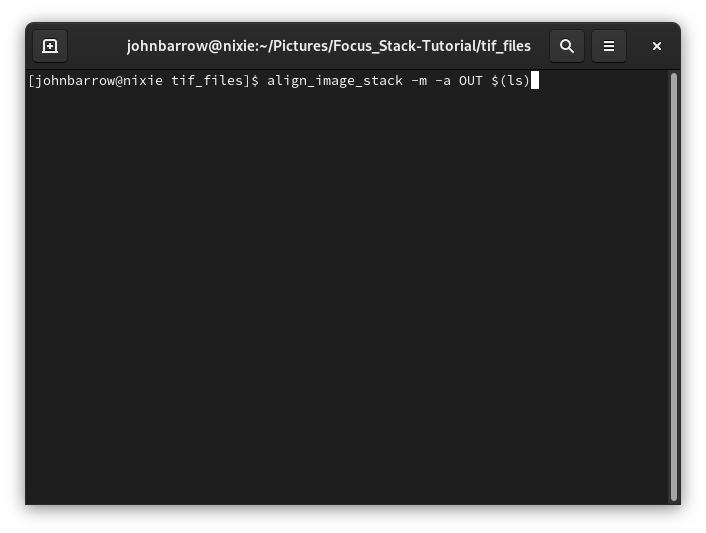
align command in terminal

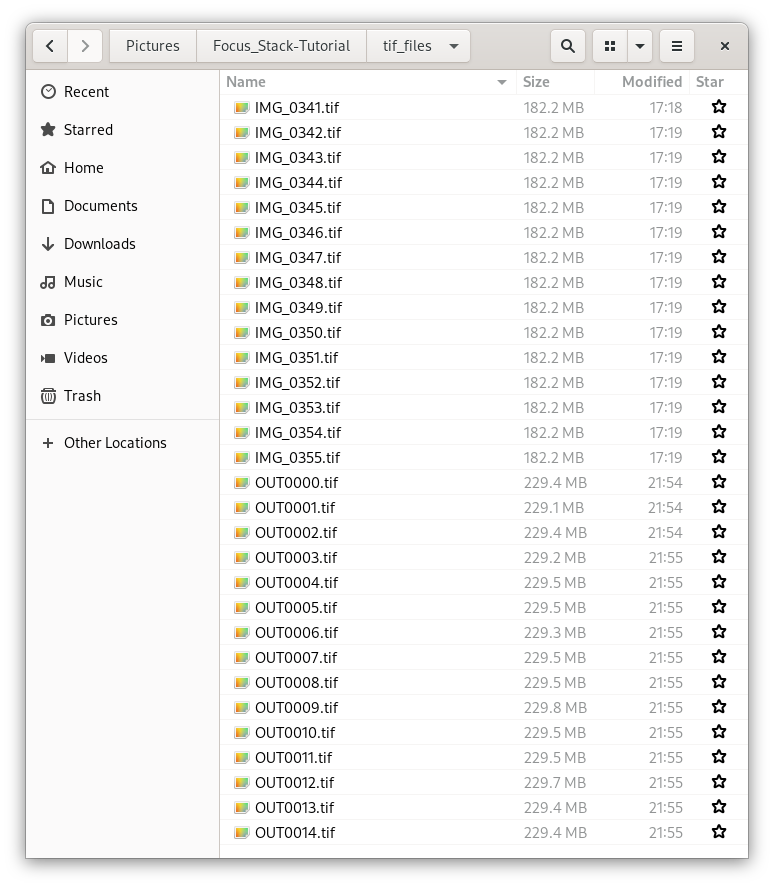
Enfuse will align the images and save them in the same folder, they will be labelled OUT and numbered sequentially.

The Focus Stack

We are going to ask Enfuse to blend the aligned images by running the following command in terminal and pressing enter. You can copy and paste them from here.

enfuse --exposure-weight=0 --saturation-weight=0 --contrast-weight=1 --hard-mask --output=baseOpt1.tif OUT*.tif
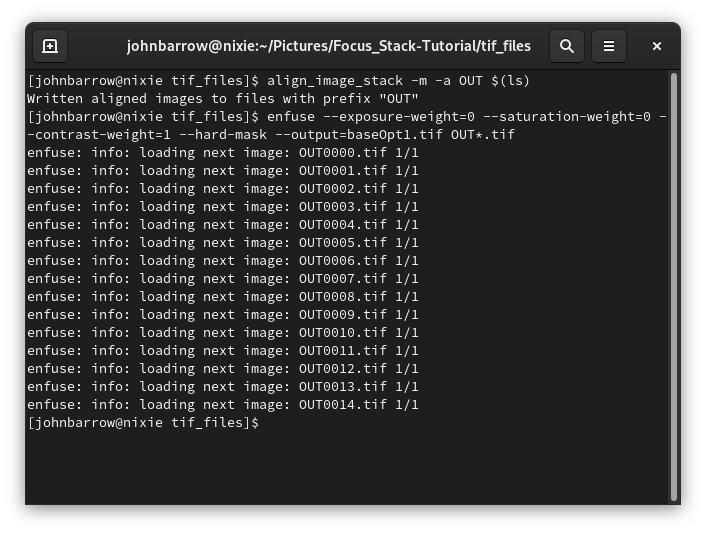
Enfuse will then output a single blended image with the name baseOpt1

In my case the image looks like this…
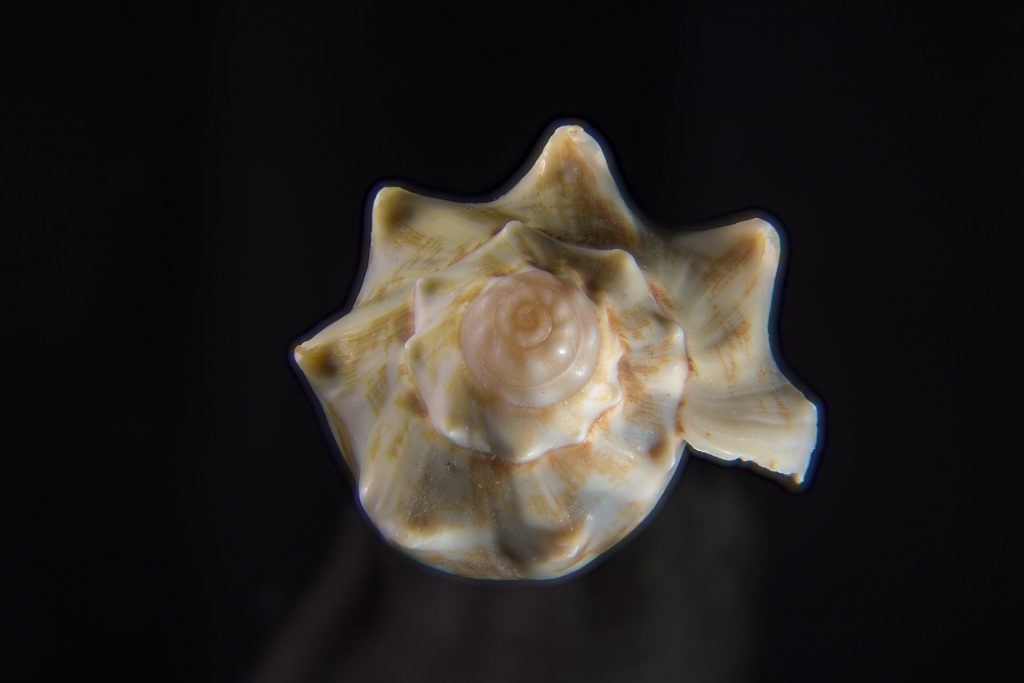
I cleaned up a bit of ghosting, tidied up the background and cropped edges in Gimp.
Easy!
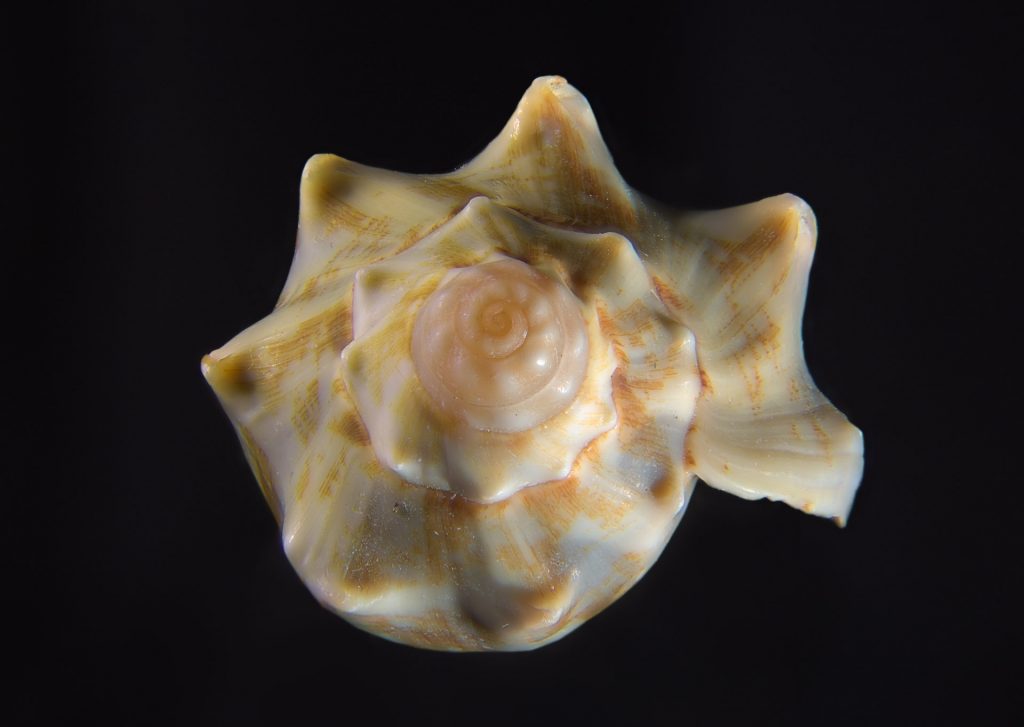
focus stacked shell, final result

Other Commands

Remove halo from focus stack

Play with the window size (odd numbers only) to improve ghosting or halo effect. I haven’t used this option apart from testing it and the default value seems works okay in some situations.

enfuse --exposure-weight=0 --saturation-weight=0 --contrast-weight=1 --hard-mask --contrast-window-size=5 --output=baseOpt2.tif OUT*.tif

Increase contrast focus stack

Experiment with the contrast-edge-scale value. The default option gave a softer image but reduced the ghosting a little I haven’t.

enfuse --exposure-weight=0 --saturation-weight=0 --contrast-weight=1 --hard-mask --contrast-edge-scale=0.3 --output=baseOpt3.tif OUT*.tif

Stack and Save Masks

I wanted to see if I could save the “focus masks” that Enfuse uses to blend the images. I want to use the masks to manually blend landscape focus stacks in Gimp.
I added –save-masks into the align code and to my surprise it aligned the images and saved the Hard mask and Soft mask for each image.

enfuse --exposure-weight=0 --saturation-weight=0 --contrast-weight=1 --hard-mask --save-masks --output=baseOpt4.tif OUT*.tif

I would love to hear how you get on, leave a comment or insight below.
There is a Enfuse GUI I haven’t used and would be interested in hearing from anyone who has.

Happy Stacking!

John B

Photographing the Milky Way or Not

Milky Way on frosty morning

Lock down was finally over and I was off. I didn’t have a plan as such but the milky way would be flat on the horizon at around 4:30 am. All I needed was a foreground and a clear sky.
I headed for Wanaka not only because of it’s natural beauty but also to visit my mum.
Just past Roxbourgh a fog layer appeared. It was an inversion layer that ran from Alexandra all the way to Wanaka. It lasted for days.
No sun, moon, no stars, just cold.
I did get to see my mum though and the next time I saw the sky was on the Crown Range over looking Queenstown.

Queenstown from the top of the Crown Range
Queenstown, NZ

Next morning I drove towards Te Anau, the air was so crisp and clear.

A quick stop at the Wilderness Scientific Reserve to get this shot of Mt Titiroa.

Wilderness Scientific Reserve
Mt Titiroa, Fiordland National Park, NZ

I could see the inversion layer was also sitting over Lake Te Anau, I made the decision to head towards Milford Sound.

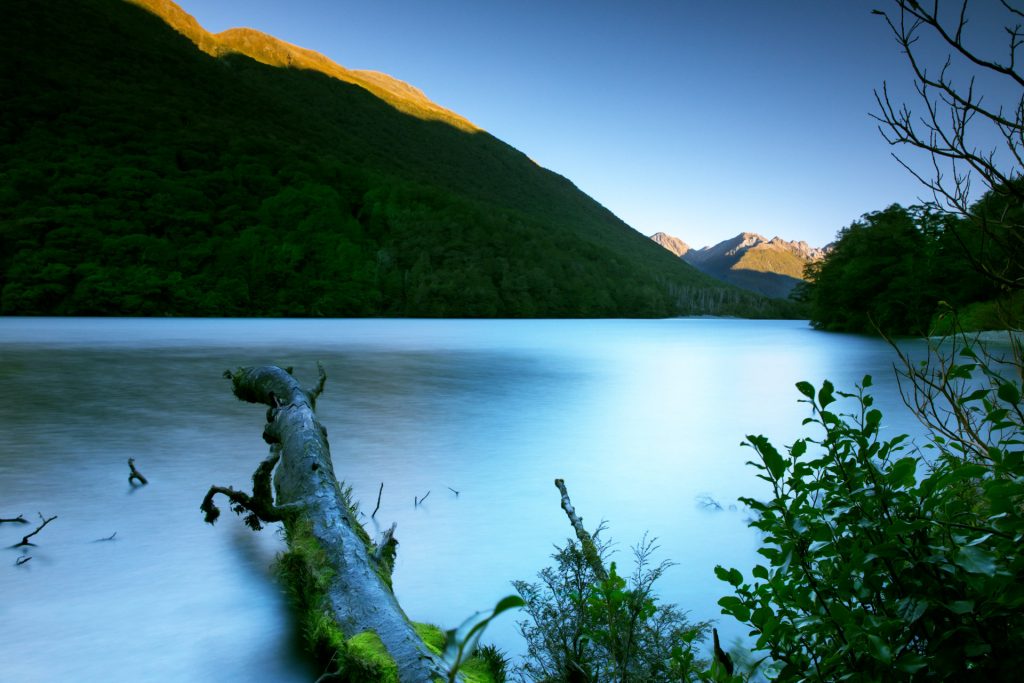
Lake Fergus
Lake Fergus I think

I finally found my foreground just off a long straight on the way to Milford.

Finally photographing the Milky Way
The Milky Way shot

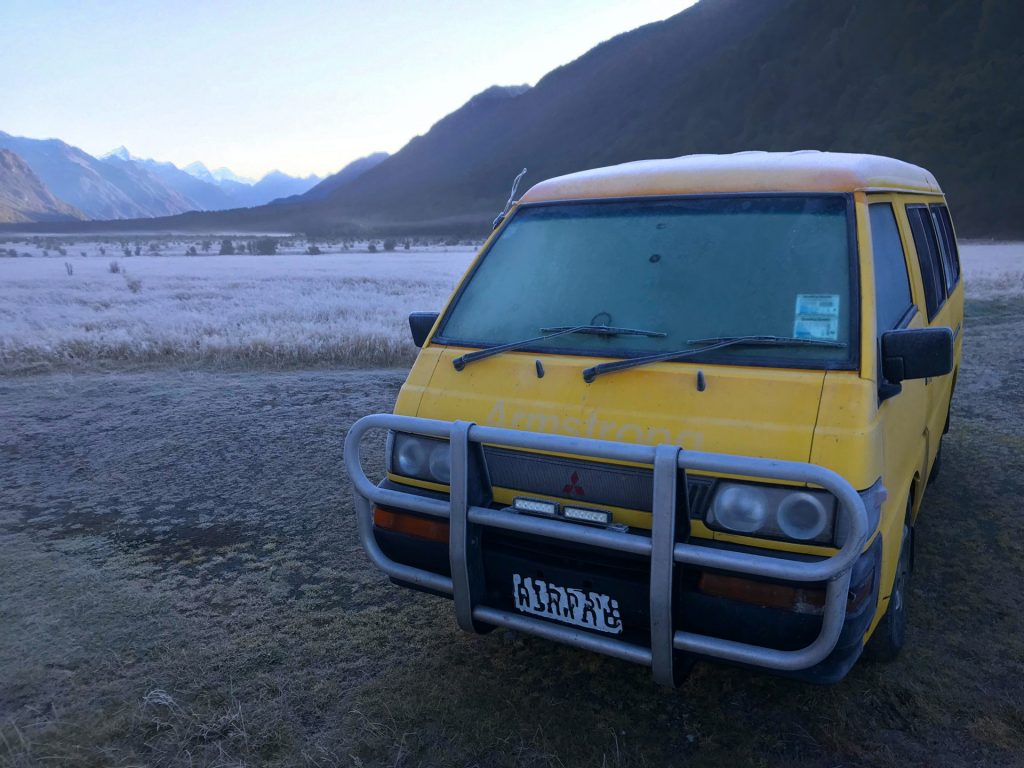
Man it was cold

Frozen Van after a cold night photographing the Milky Way
Frozen

Photographing the Milky Way and observing the night sky, in general, may soon be a little easier as people in New Zealand become more aware of the importance of dark sky areas. The Aoraki Mackenzie International Dark Sky Reserve is a great example of what can be done when people work together.

I’ve made a small video of the trip…

Darran Mountains, Gimp edit

On a recent trip, I found myself at the entrance to the homer tunnel on the Te Anau to Milford Highway. It was very late in the afternoon and I didn’t intend going to Milford Sound so I turned around and pulled over. The mountains surround me and seem to go straight up, in front on me is a very old tree, covered in lichen and looking like something out of Lord of the Rings. I decided to make this tree the focus of an image, the scale of what was in front of me was too much for a single frame so I decided to shoot a 4xframe panorama.

Darran Mountains with tree
Darran Mountains

I did some basic edits in Darktable before creating the panorama in Hugin Panorama Stitcher, both are free and open source. The stitch was pretty good but the image didn’t really work.

Image from Hugin Panorama Stitcher

The tree blended into the background and although the detail is there it was always going to be a big ask to get the tree to stand out. The edit was quite complicated but thanks to a few new tools in the latest version of GIMP 2.10.20 I got a result I was happy with.
The silver dot in the sky on the left side is the moon and not a UFO.

I made a small video of the drive to Homer Tunnel with a couple of photos on the way.

They will get better…
This is the shot I took on the way.

Lumi

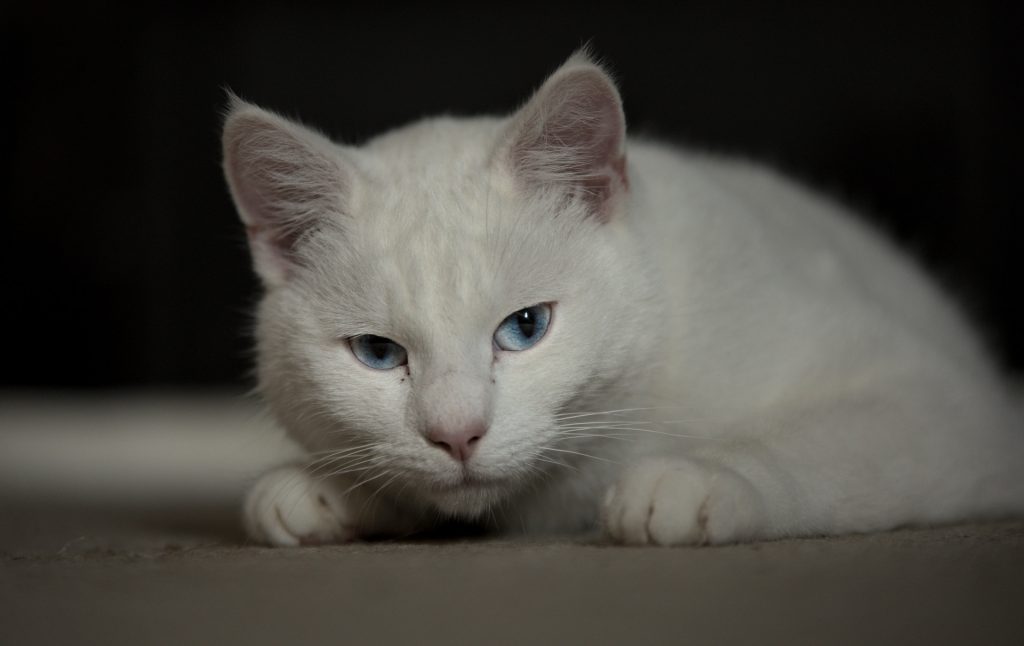
This is Lumi, one of two rescue cats that live with us. He is a cool little guy

lumi the cat

The two cats, Lumi and Lima, are as different as chalk and cheese but they get on really well.

Glow Worms

The first time I went to McLean Falls, in the Catlins, I discovered there are Glow Worms all along the steep edges and undercuts along the edge of the track.
I wanted to get a shot of one, so I went back a few weeks later. Just after dusk I set off up the track, my eyes adjusted to the darkness as I walked up towards the waterfall.

Spooky bush walk

I didn’t want to use a torch as it would destroy my night vision and spook the Glow Worms, they switch off their light if they get spooked by noise or light .
As the last bit of light drained from the forest they started to appear…

I got straight into my work, finding photogenic groups of worms with easy access. I got my tripod set up and camera mounted but I really struggled to find and focus on a single worm.
What you see in the photos isn’t what you see with your eyes, the long exposure gathers a lot more light than our eyes can in real time. They are just these tiny points of light and if you looked really closely you can see the strands of sticky pearls.
I managed to hone in on one but couldn’t get any closer, the lens hood was hard up against the bank and I was looking into a small hole…

When I finally took a break and stood up to stretch, I was stunned by how dark it was. Apart from a few glow worms on the bank, I couldn’t see anything at all. Even looking up, I couldn’t see any sky, just black. On the other side of the track from the glow worms was a drop off to river. It was a very strange feeling, no light and white noise on a slippery mud track in the middle of nowhere. The lack of ambient light is noticeable as this scene is lit entirely by worms…

At this stage I started hearing things over the noise of the river, probably possums but my imagination disagreed. I finally gave in and turned my torch on but didn’t see anything.
Time to go back the the van…

McLean Falls are well worth the visit if you ever find yourself driving through the Catlins Forest Park.

Fantail

Going through my archives, I found this image of a Fantail.
It’s not a horrible photo but it’s definitely not a good one either. I’m going to try and improve this image with Luminosity Masks in GIMP (GNU Image Manipulation Program).

Original Image

The original image was dull and this little guy just blends into the background, which he is supposed to do of course. I decided to use luminosity masks to lift the darker parts of the image and add a little saturation. I erased the leaves on the bottom right of frameand cropped the image.

fantail
edited imige

If you are a GIMP user and would like to have a go at Luminosity Masks, head over to Davies Media Design on YouTube he has excellent tutorials
Using Luminosity Masks to Fix Dark Objects

If you want to try GIMP, its open sourced and completely free, click the GIMP lol

GIMP logo

Happy editing 🙂

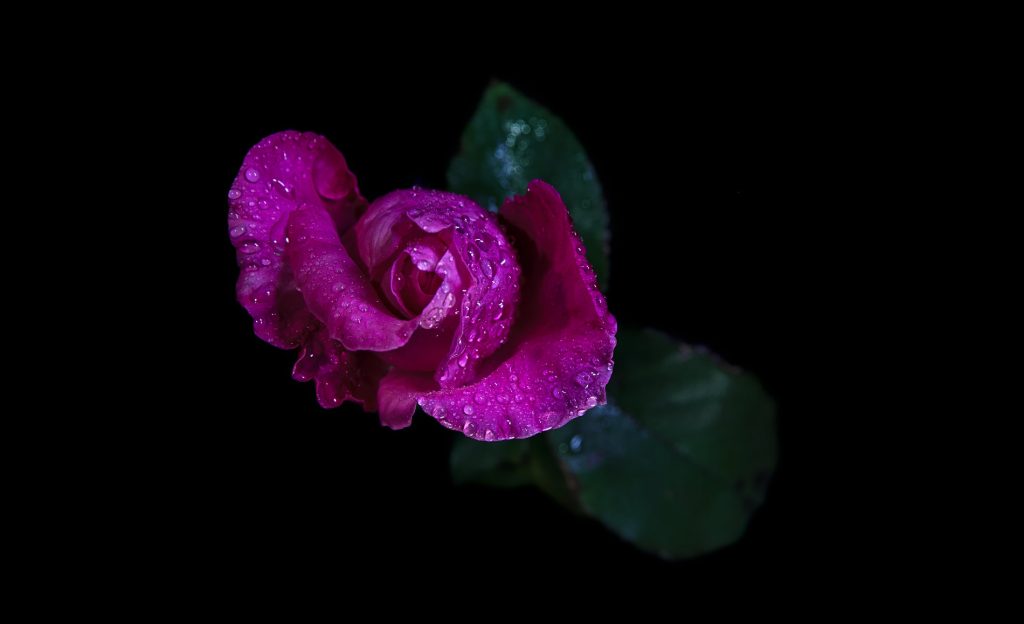
The Wet Rose

Browsing through Flickr one day I noticed photographers were getting a lot of “likes” on images of flowers with pure black backgrounds. These images were clearly studio set-ups that don’t look so difficult.
A quick dash to the garden to find my subject.
Armed with a fresh cut rose, a little table, a couple of cheap LED lights and what seems to be the most important thing, the spray mister, I set about getting the shot…

The results were nearly instant, the image virtually went viral with a massive 14 likes on flickr. Quite clearly I’m on an insane trajectory straight to the top 🙂

Roys Peak

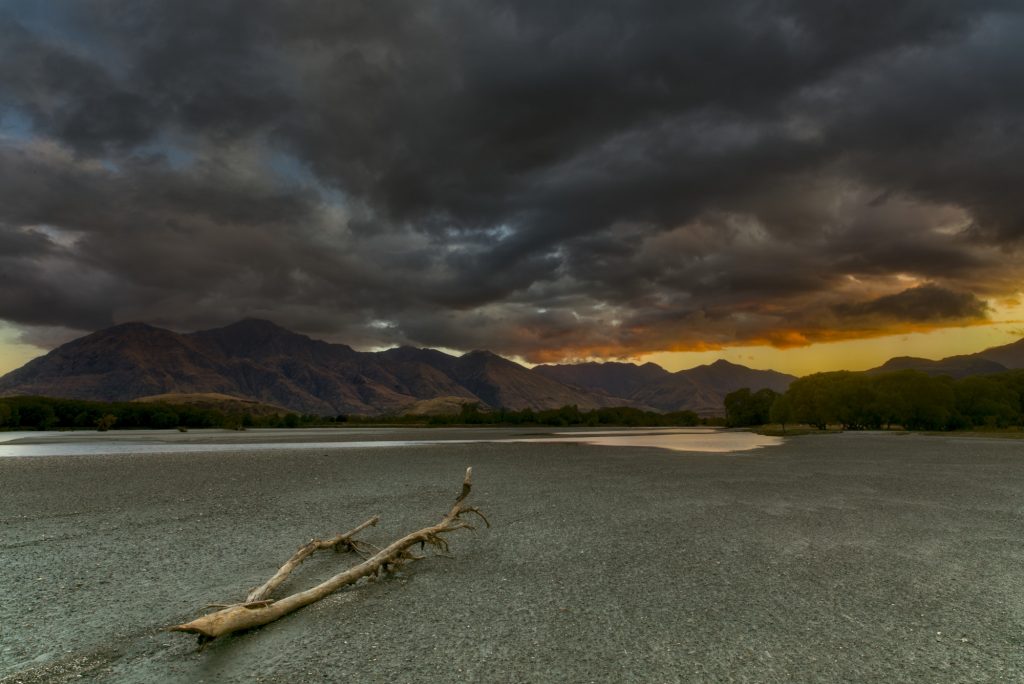
I’ve just finished editing this photo of Roys Peak in Wanaka NZ.

The photo was taken from the Matukituki River mouth. It wasn’t ideal lighting for the image I wanted but the clouds looked moody and the sunset colour was great, I’m reasonably happy with the outcome.

The Learning curve

I use Fedora, a Linux operating system, for all my editing. I both love it and get very angry with it.
Most of the industry software doesn’t work on Linux but the software that does work on Linux is built by a community of very clever people.

I did a trip a couple of weeks ago and was focusing on a shot of the Galactic Centre rising. My first couple of locations didn’t work but on the third night I got a bit of luck.
I found a spot on Lake Hawea that would frame the Galactic Centre between two mountains and lake in the foreground.
The moment came and I snapped of a couple of dozen shots. I get home and start editing an image.

I have one 90 second exposure for the foreground and 4 exposures focused on the stars. I chose the best exposure and started editing, I’m still learning star-scape photography so it took me ages to get something I was happy with. It looked okay but it wasn’t great.

Galactic centre rising

I have four images of the same frame and decided to find a way to stack them. I found a piece of software called Siril.
Siril isn’t flashy but it works like a charm. It’s going to take time to get to know this software but I’m excited by the prospect. Take a look…

Galactic centre rising 2

The little Tractor

As usual I had no idea where I was going, sometime after midnight I saw the Millers Flat bridge. I’d been thinking about going that way and seeing the bridge confirmed it. I continued along the Clutha keeping my eye out for a road I kinda remember but didn’t find it. I ended up stopping just under the Roxburgh Hydro Dam

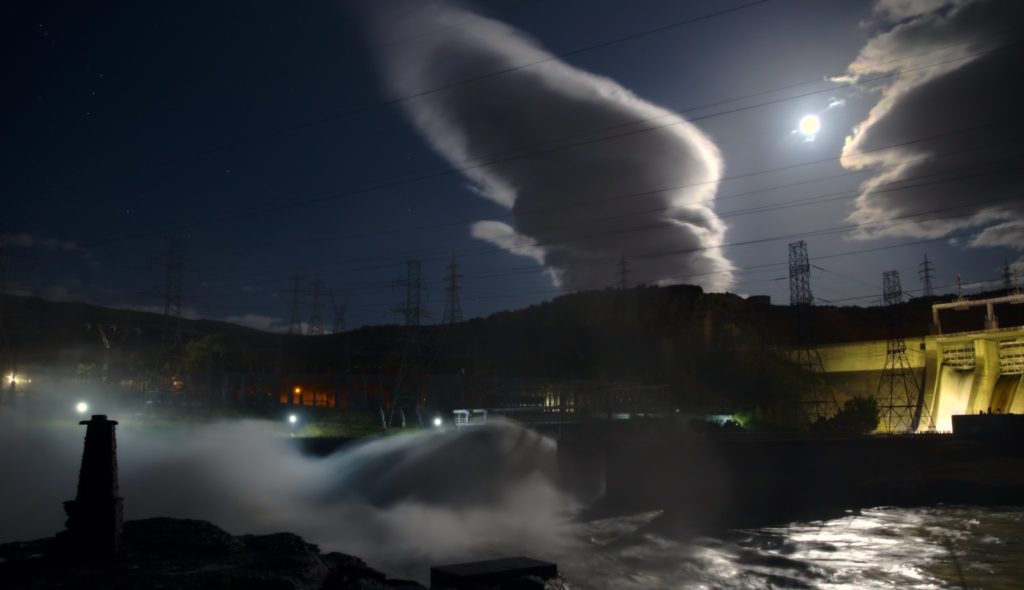
roxburgh dam at night

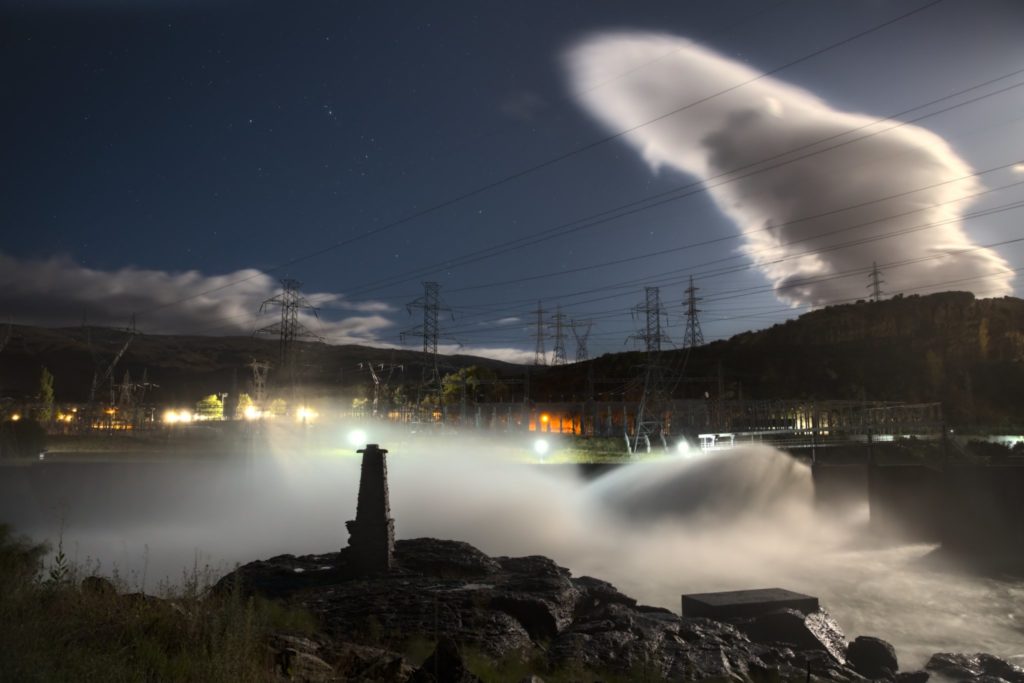
What a spot to stop! There had been flooding a week before and the dam was still spilling. I had a problem with the full moon but everything else was setting up perfectly. I decided to frame out the moon and try and get a shot with just the cloud and the end of the spillway.

Roxburgh dam spillway at night

I’ve been thinking about the star Betelgeuse lately, wondering if it is about to go super nova. Man that would be a photo. Anyway I was really happy with the way Orion is framed in this capture and in case you don’t know, Betelgeuse is a part of Orion. The other funny thing is, we have a power company called Orion here in New Zealand….

Well it amused me.

I had a beautiful sleep listening to the roar of the spillway.

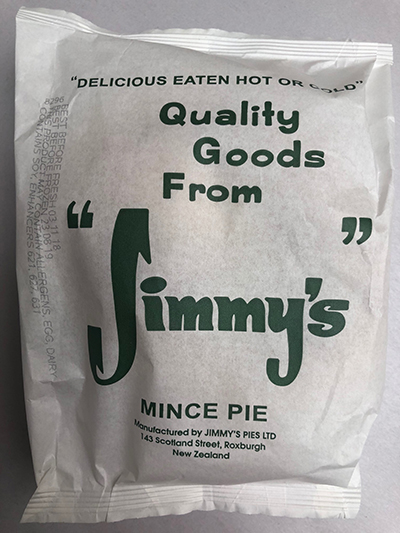
I woke up excited, breakfast at Jimmy’s Pies, what could be better. I grew up on Jimmy’s Pies as a kid and I’m still eating them but straight from the oven is a real treat. I was off into Roxburgh, I had to visit the Loo first. This annoyed me a little but best get it out of the way before Jimmy’s. Finally the time had come, I did a u-turn and parked right in front.

Without even getting out of the van I could tell, Jimmy’s Pies in Roxburgh doesn’t open on the weekend.

Jimmy's Pie

I had talked about lake Onslow with my uncle the night before so that’s where I was going. I found the turn off, the seal ended and the van, and I, started climbing. The road wasn’t in bad condition, a bit gouged from all the rain recently but passable.

Map of the area

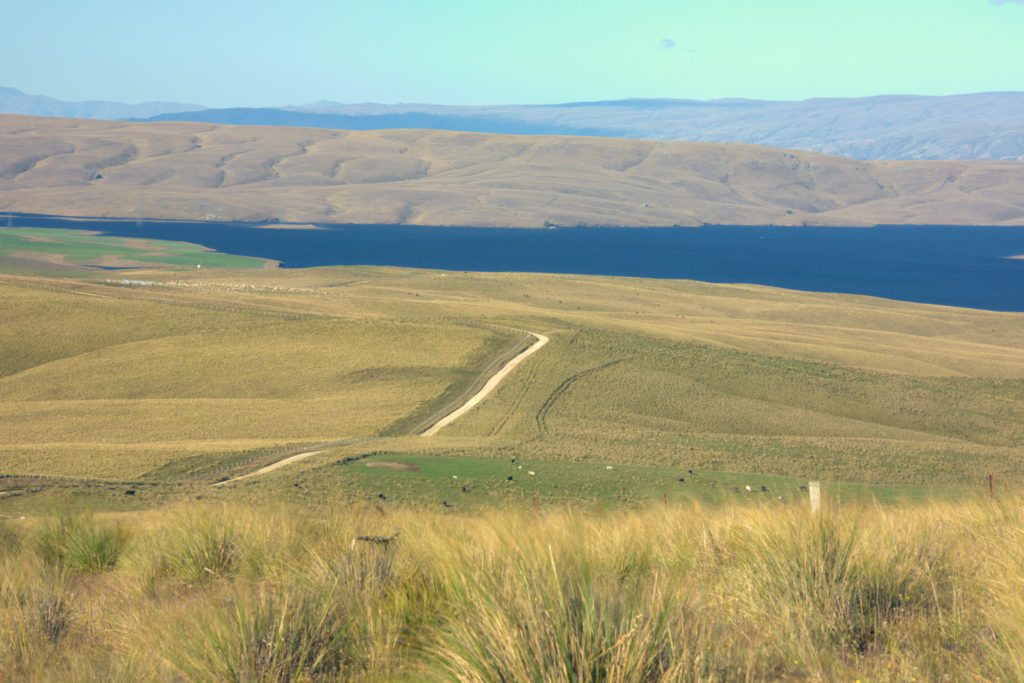
It just kept going up and up deep into tussock country, at the summit Lake Onslow spread out before me.


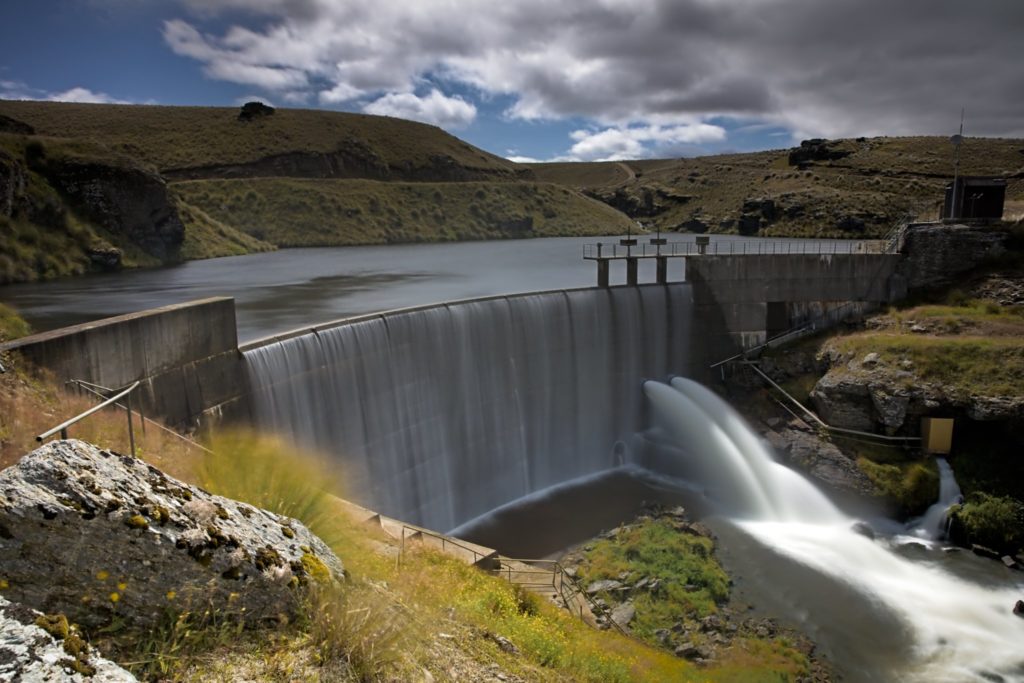
Keeping an eye out for possible locations for later in the day, I made my way down the road and along the lake until I came to a small dam. This was me for an hour or two.

Onslow Dam

It was just beautiful up there but I wasn’t really feeling it, so after a cup of tea and something to eat I headed back up the hill. I pulled over on the summit and got out to stretch my legs and take in the view. I turned around I saw….

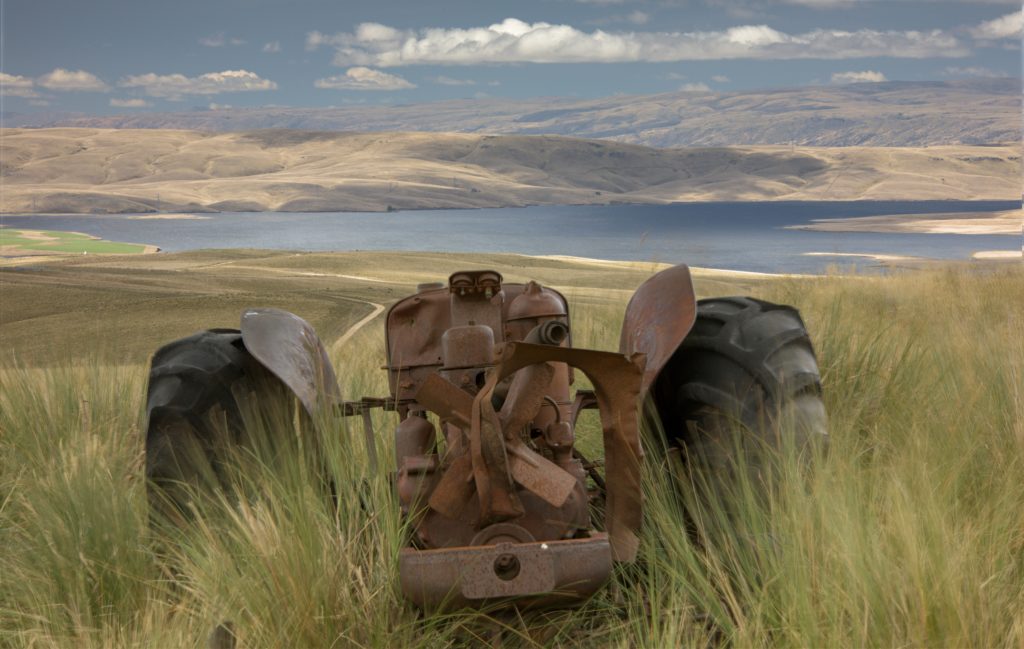
Little tractor

Now I’m feeling it! I park up and decide this is where I’m staying the night. Sleep time! It’s still 4 hours until the golden hour. The after noon drifted by and when the light started improving I set up some shots. I worked out a shot of the milky way where I could light paint the tractor later in the evening.

My plans were quickly dashed as just as the light was coming right the cloud came rolling in. I was enveloped in the cloud in no time. I headed down the mountain stopping to grab some snaps on the way.

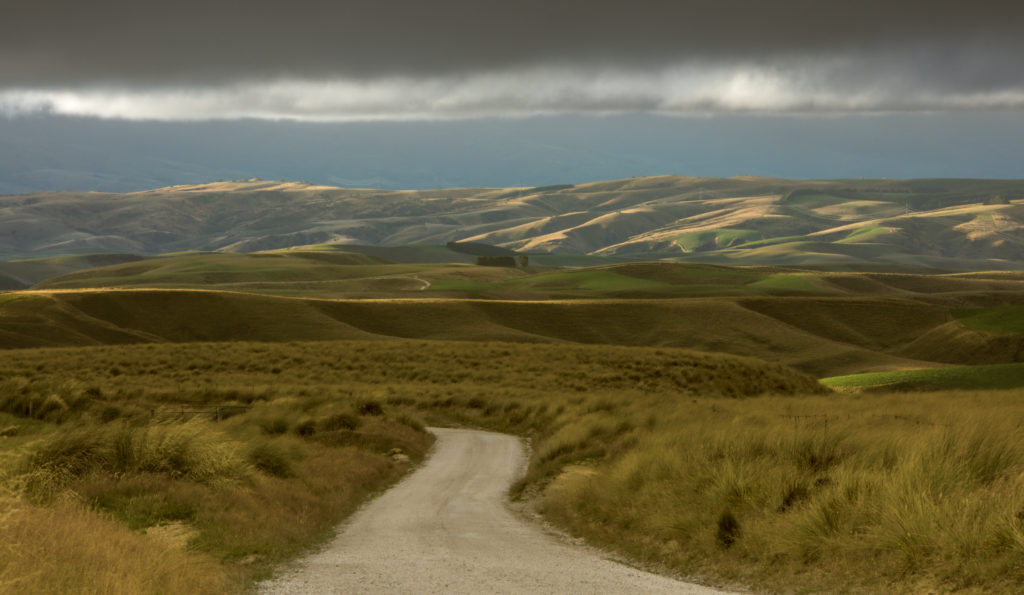
Scenic shot

I found a nice place to park up and slept for a few hours before heading home.

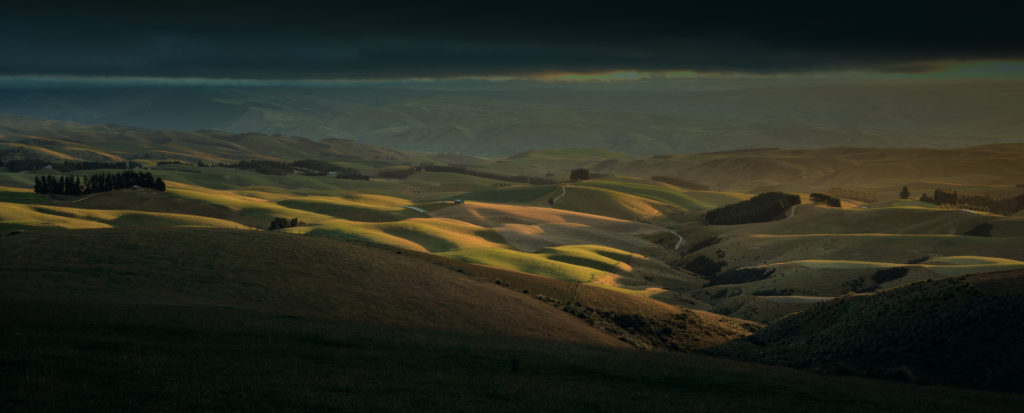
Scenic shot

I had a great trip and got a couple of good shots for my troubles 🙂