
Do you what to know how to align, and blend, a Focus Stack sequence in linux?
I’m going to show you an easy way to focus stack in Linux using a few simple commands in Terminal.
This method only works if you have Enfuse installed but if you have Hugin – Panorama photo stitcher installed it’s already there. If you don’t have Hugin, pop over and get it, it’s free.
Opening Images in Terminal
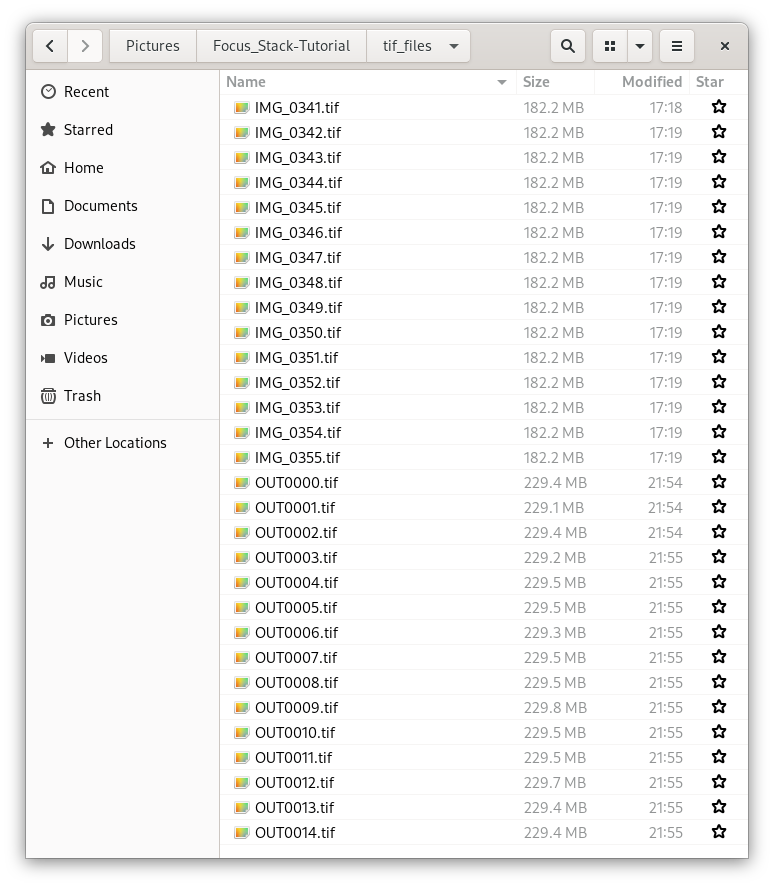
Create a folder for your images.

Right Click in the folder, and click on Open in Terminal.
The Align Script
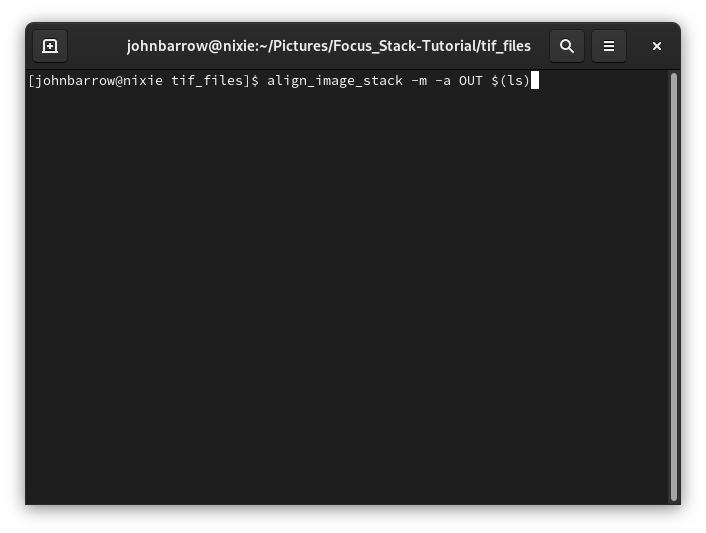
Run the following command and press enter
align_image_stack -m -a OUT $(ls)
Enfuse will align the images and save them in the same folder, they will be labelled OUT and numbered sequentially.
The Focus Stack
We are going to ask Enfuse to blend the aligned images by running the following command in terminal and pressing enter. You can copy and paste them from here.
enfuse --exposure-weight=0 --saturation-weight=0 --contrast-weight=1 --hard-mask --output=baseOpt1.tif OUT*.tif
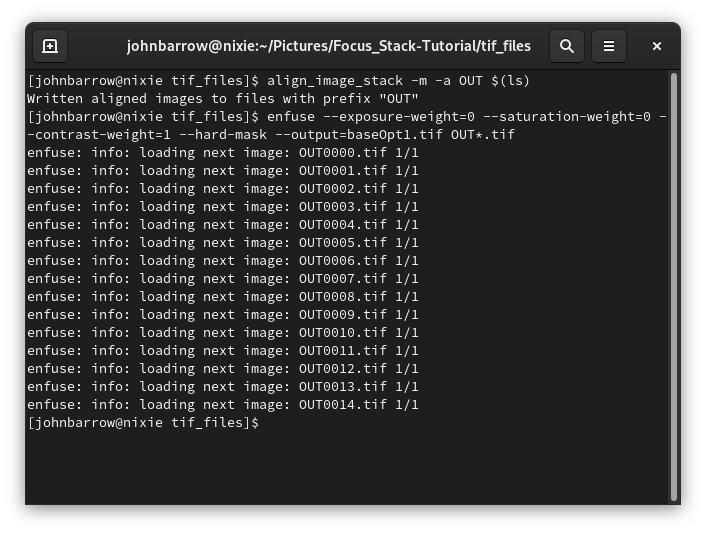
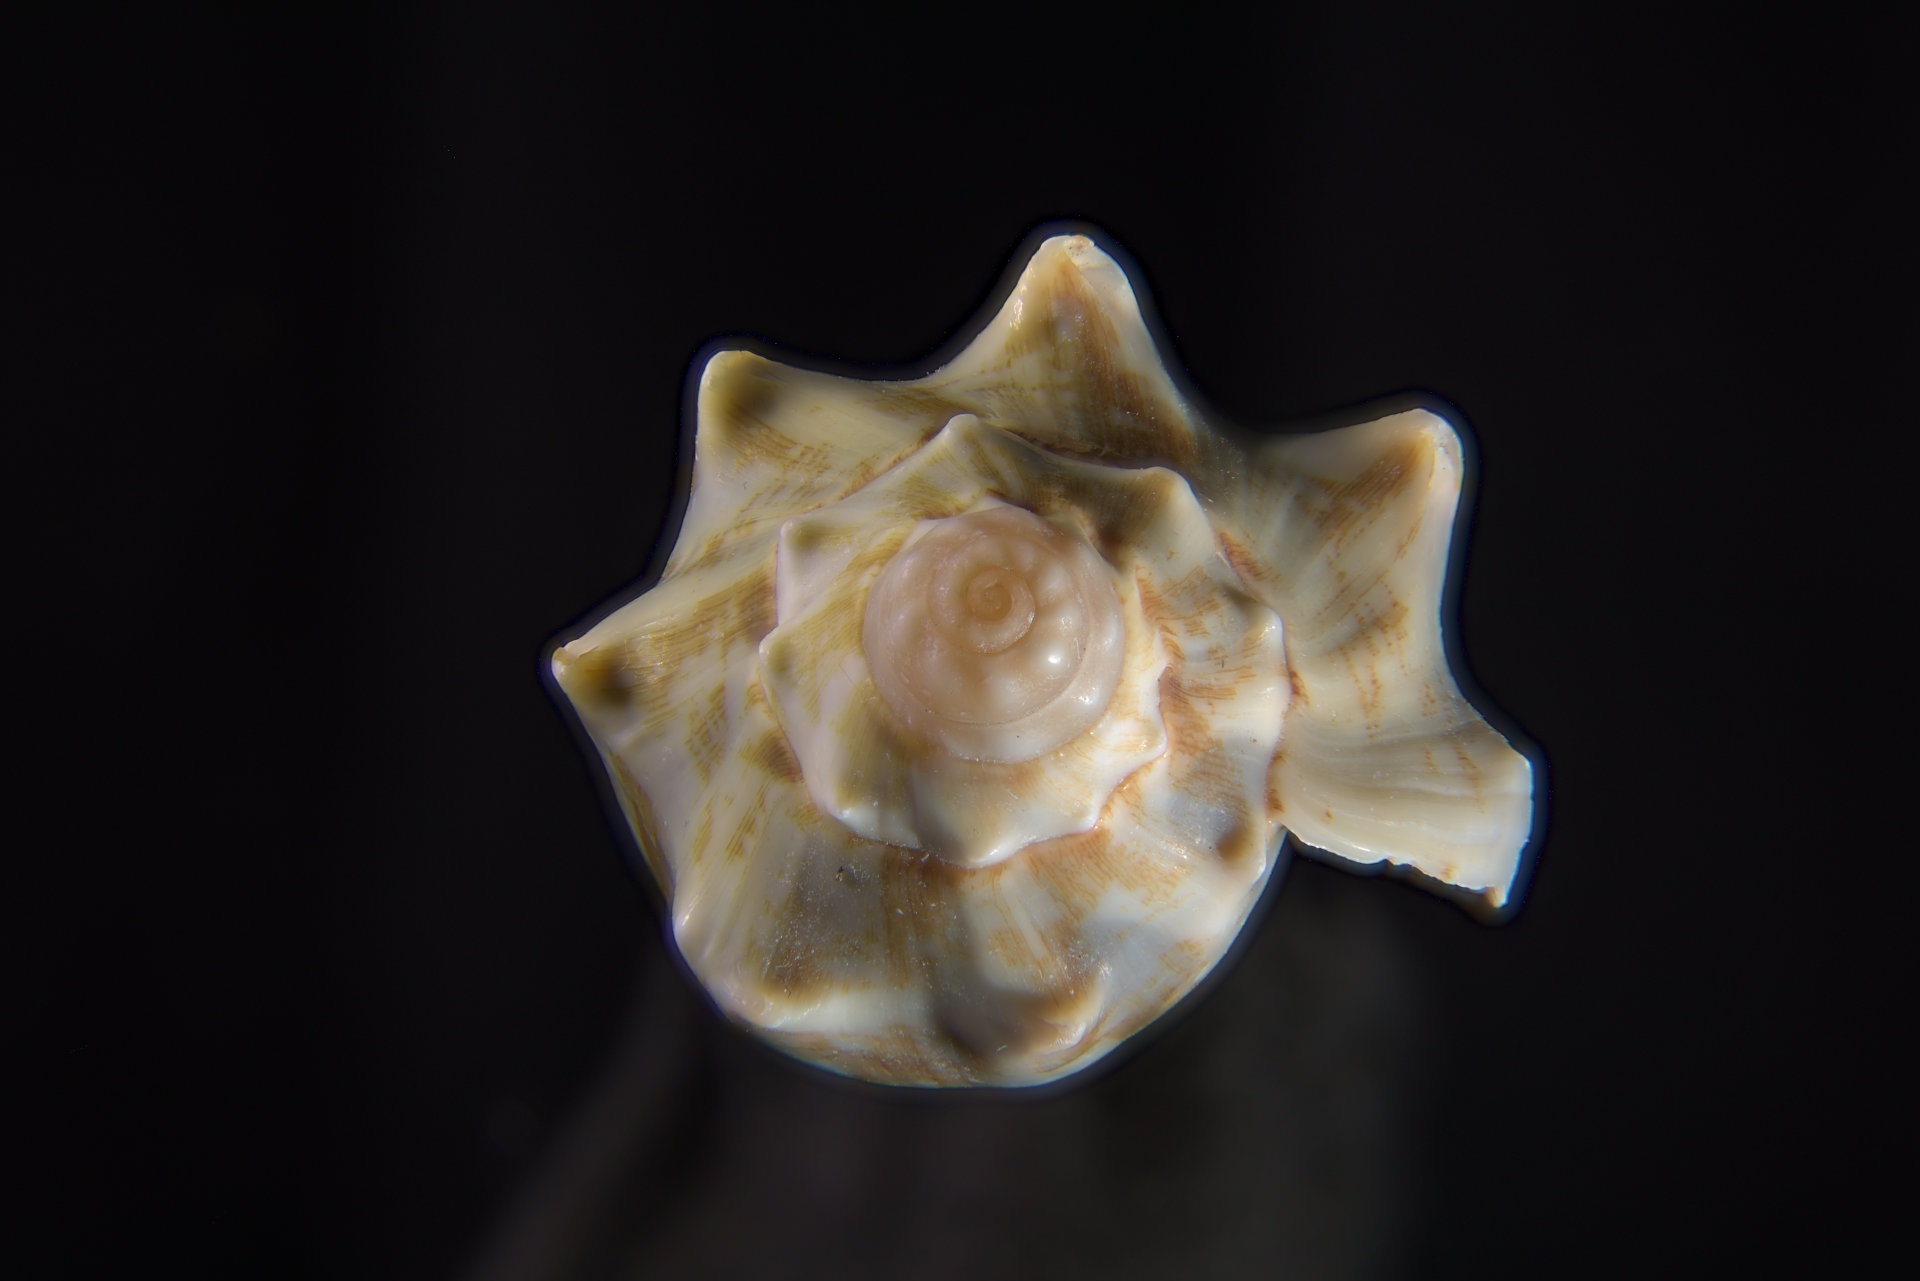
Enfuse will then output a single blended image with the name baseOpt1

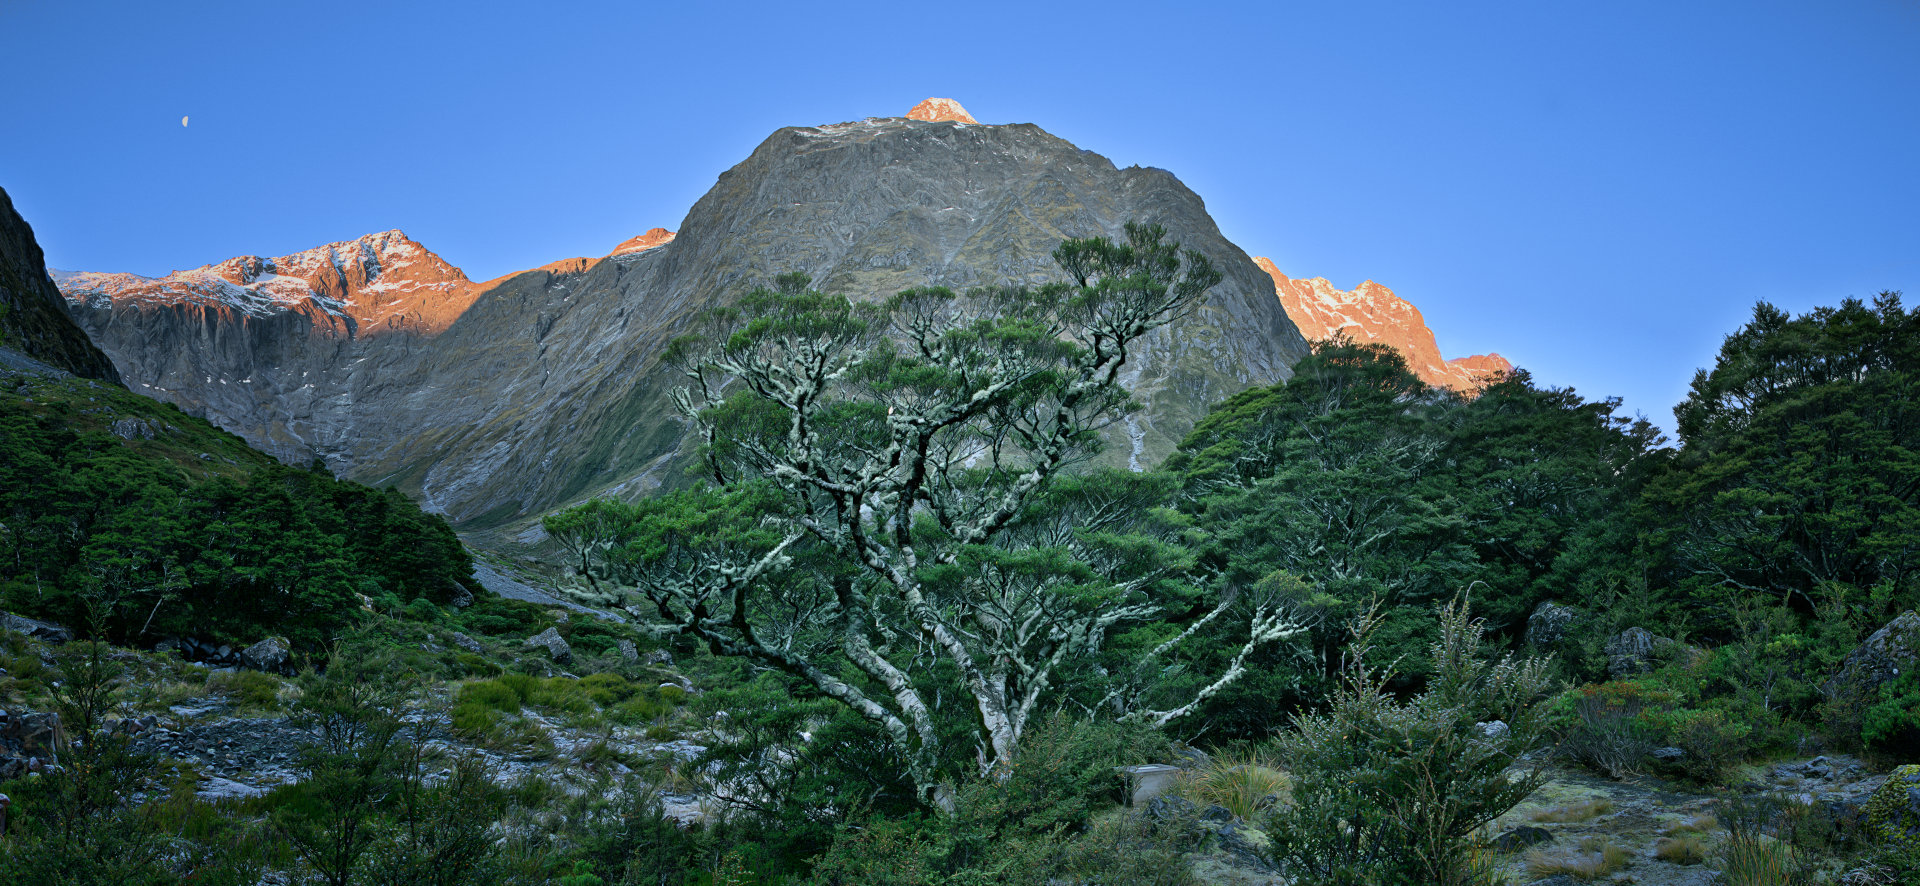
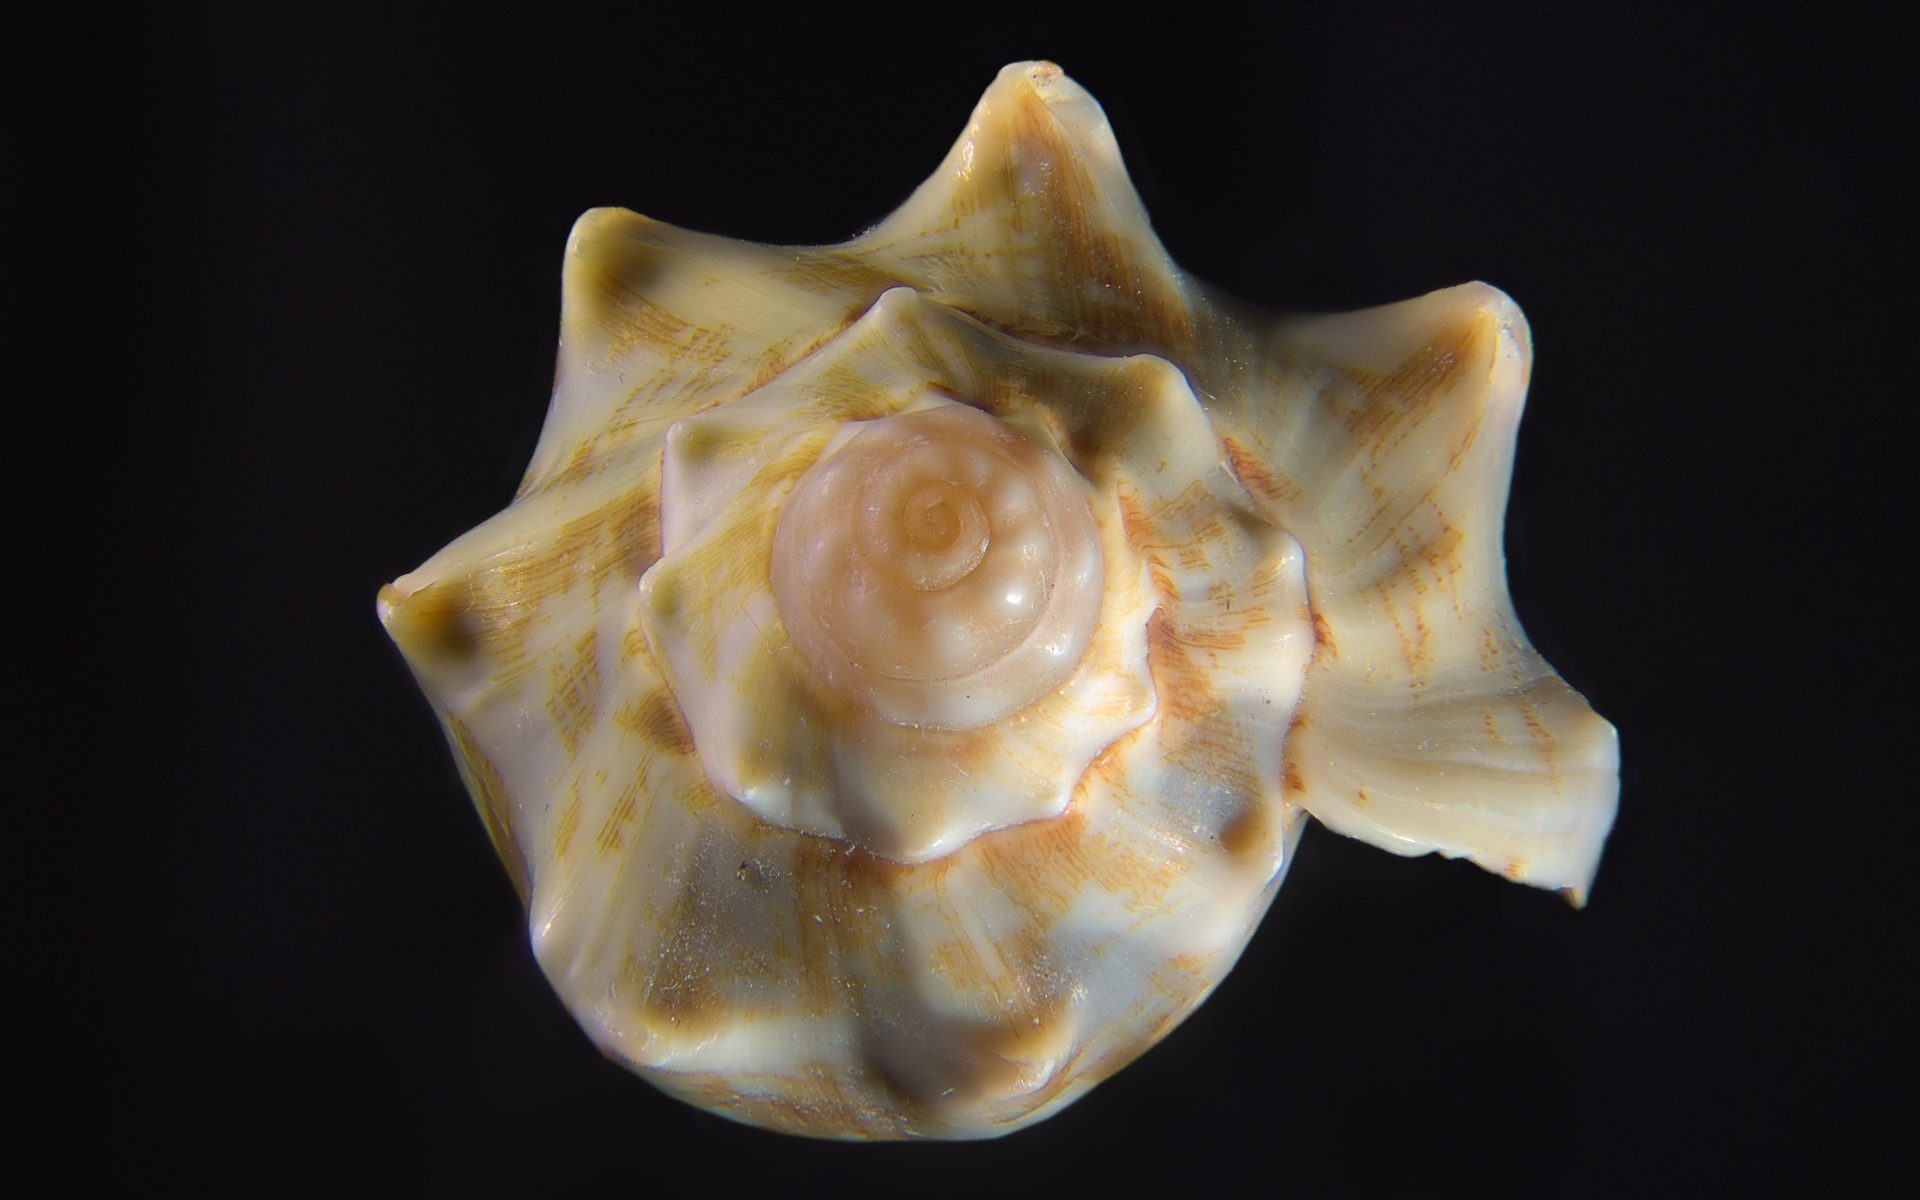
In my case the image looks like this…
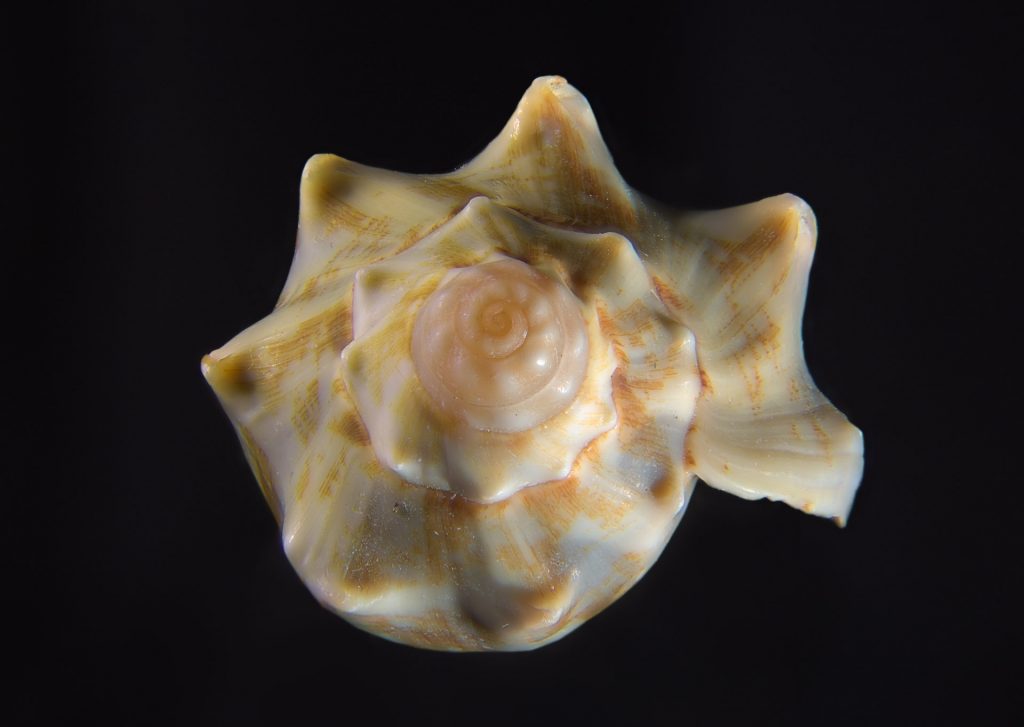
I cleaned up a bit of ghosting, tidied up the background and cropped edges in Gimp.
Easy!
Other Commands
Remove halo from focus stack
Play with the window size (odd numbers only) to improve ghosting or halo effect. I haven’t used this option apart from testing it and the default value seems works okay in some situations.
enfuse --exposure-weight=0 --saturation-weight=0 --contrast-weight=1 --hard-mask --contrast-window-size=5 --output=baseOpt2.tif OUT*.tif
Increase contrast focus stack
Experiment with the contrast-edge-scale value. The default option gave a softer image but reduced the ghosting a little I haven’t.
enfuse --exposure-weight=0 --saturation-weight=0 --contrast-weight=1 --hard-mask --contrast-edge-scale=0.3 --output=baseOpt3.tif OUT*.tif
Stack and Save Masks
I wanted to see if I could save the “focus masks” that Enfuse uses to blend the images. I want to use the masks to manually blend landscape focus stacks in Gimp.
I added –save-masks into the align code and to my surprise it aligned the images and saved the Hard mask and Soft mask for each image.
enfuse --exposure-weight=0 --saturation-weight=0 --contrast-weight=1 --hard-mask --save-masks --output=baseOpt4.tif OUT*.tif
I would love to hear how you get on, leave a comment or insight below.
There is a Enfuse GUI I haven’t used and would be interested in hearing from anyone who has.
Happy Stacking!
John B